Replacing Your Kitchen or Bathroom Faucets? Here’s What You Need to Know
Hey there, DIY homeowners! Dave the Plumber here. If you’re thinking about upgrading the faucets in your kitchen or bathrooms, you’ve come to the right place. As a professional plumber with over 30 years of experience, I’ve installed more faucets than I can count. Replacing faucets seems like it should be an easy job, but trust me, there’s more to it than just unscrewing some pipes and screwing on a new fixture.
Before you head to the hardware store or start browsing faucets online, there are some important things you need to consider. Choosing the wrong faucet or installing it improperly can lead to leaks, water damage, and a whole lot of headaches down the road. But don’t worry, I’m here to guide you through the process and make sure your faucet installation goes smoothly.
Faucet Types and Styles
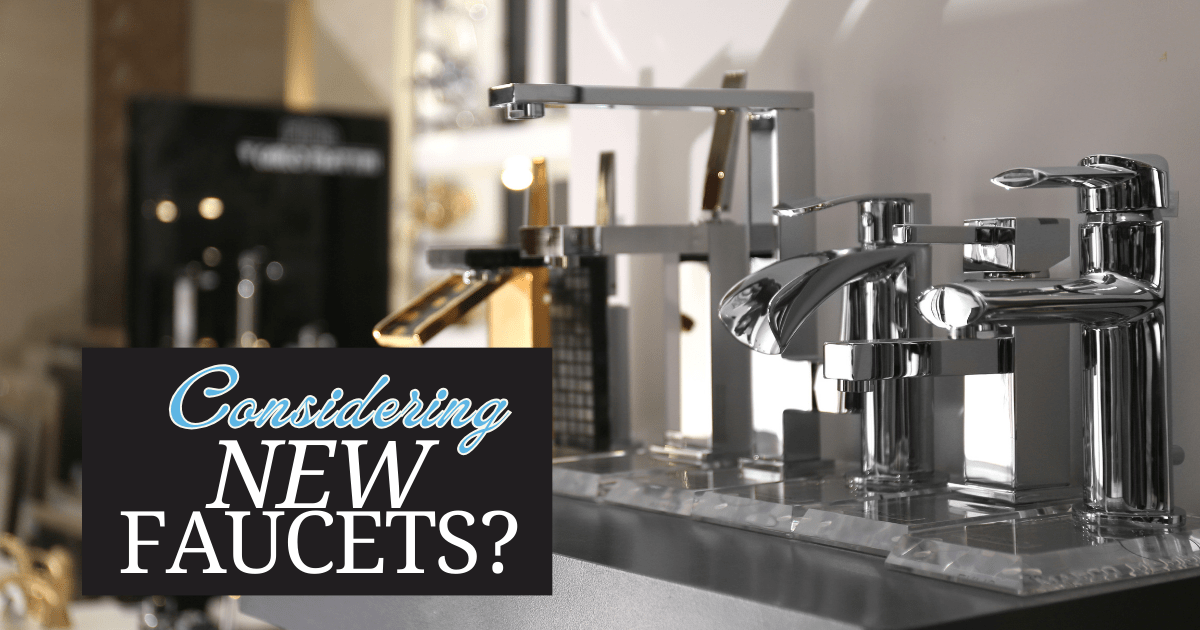
The first thing you need to think about is what type of faucet you want. There are several different styles to choose from, each with its own pros and cons. Here’s a quick rundown:
- Single-handle faucets: These have one lever or knob that controls both the hot and cold water flow. They’re simple, stylish, and easy to use, but can be trickier to repair if something goes wrong inside.
- Double-handle faucets: With separate hot and cold handles, these allow more precise temperature control. The downside is they take up more space on your sink or countertop.
- Pull-down/pull-out faucets: The spout head detaches from the base, making it easier to wash dishes, fill pots, or clean the sink itself. Just be careful not to damage the hose!
- Touchless/motion-sensor faucets: These turn on automatically with just a wave of your hand – super convenient but also more expensive and complex to install and repair.
- Wall-mount faucets: Mounted directly to the wall above the sink, these create a modern, minimalist look. But they require some serious plumbing work to install properly.
You’ll also need to decide on a faucet finish. Stainless steel and chrome are classic choices, but brushed nickel, oil-rubbed bronze, and matte black finishes are very trendy right now. Just keep in mind that some finishes show water spots and fingerprints more easily than others.
Measuring for the Right Fit
Once you’ve picked out your dream faucet, the next step is to measure and make sure it will actually fit in your kitchen or bathroom. Sounds obvious, but you’d be surprised how many people don’t do this! You need to measure:
- The number of holes in your sink/countertop where the faucet will be mounted. Most faucets come in single-hole or 3-hole configurations.
- The distance between the holes for widespread/double-handle faucets. This is called the spread.
- The height of the backsplash behind the sink, if you’re installing a high-arching faucet.
If your new faucet doesn’t match up with the existing holes, you may need to purchase a deck plate to cover the gaps or have new holes drilled – definitely not a DIY job unless you’re very handy!
Preparing for Installation
Okay, so you’ve got your shiny new faucet and you’re ready to install it. Not so fast! There are a few things you need to do first:
- Turn off the water supply lines: There should be shut-off valves underneath the sink. Turn them all the way off in both directions so you don’t end up with a flooded kitchen or bathroom.
- Remove the old faucet: Use a basin wrench to loosen the mounting nuts and disconnect the water supply lines. Have a bucket ready to catch any water still in the pipes.
- Clean the area: Once the old faucet is out, use this opportunity to clean up any gunk or mineral buildup around the sink holes. This will help the new faucet seal properly.
- Check for leaks: While the water is turned off, inspect all the supply lines and shut-off valves for any signs of corrosion, mineral deposits, or leaks. It’s better to replace these now rather than after your new faucet is installed.
- Have the right tools: At minimum, you’ll need adjustable wrenches, pliers, a basin wrench, plumber’s putty or caulk, and Teflon tape for the threaded connections. Having the right tools makes the job so much easier!
The Installation Process
Once your prep work is done, you’re ready for the actual faucet installation. The process is generally:
- Apply a ring of plumber’s putty or caulk around the base of the faucet to seal it against the sink/countertop.
- Insert the faucet pipes or mounting studs through the holes and secure it with the provided mounting hardware, tightening firmly but not too much.
- Connect the hot and cold water supply lines to the faucet inlet pipes using the provided fittings and Teflon tape on the threads.
- Turn the water back on slowly and check for any leaks, re-tightening connections as needed.
- For faucets with pull-down/pull-out sprayers, attach the counterweight and make sure the hose can extend and retract smoothly.
- Flush out the new faucet by running the water for a few minutes to clear any debris.
That’s the basic process, but every faucet is a little different so be sure to closely follow the manufacturer’s instructions. Don’t be afraid to ask for help if you get stuck – a professional plumber would much rather spend an hour guiding you through the process than having to come fix a major leak later!
When to Call in a Pro
Speaking of professional plumbers, there are some situations where it’s best to save yourself the headache and call in reinforcements from the start:
- You’re installing a wall-mount faucet, which requires opening up the wall and re-routing pipes.
- Your sink or countertop holes don’t match the new faucet configuration and need to be relocated.
- You need to replace old, corroded supply lines or shut-off valves.
- The new faucet requires more water pressure than your existing pipes can handle.
- You’re working with really tight spaces or awkward angles under the sink.
While faucet installation can make a great DIY project for an experienced homeowner, it’s also easy for things to go wrong if you’re not 100% confident in what you’re doing. When in doubt, get a professional plumber involved – we’ve got the tools, knowledge, and experience to get it done quickly and with no leaks!
Well, there you have it – everything you need to know about choosing and installing new faucets in your home. Remember to take measurements, turn off water supplies, have the right tools, and don’t be afraid to call for backup if things get too complicated. A new faucet can completely transform the look and feel of your kitchen or bathroom, so it’s worth taking the time to do it right. Good luck with your project, and happy plumbing!
Need a Professional Plumber in the San Antonio Area? Contact Us Today!
If you run into any issues with your faucet installation or just want to hand it off to the pros, my team and I are here to help homeowners throughout the San Antonio area. We have over 30 years of combined plumbing experience, so you can trust us to get the job done quickly and with no leaks.
Give us a call today to schedule your faucet installation or any other plumbing services!
210-789-6014